Yes, I am aware that it is very much passed the toolkit 2 deadline, however I still feel it important to complete everything I failed to submit. So better late than never, I guess.
Chapter 6
This 8 minute tutorial covers how to use stamps and stencils in creating details. It also shows you how to import different stencils.
 |
| Starting with the head I modified it chapter 5. |
 |
| First thing used was a stamp with a random dotted pattern. This was used to create subtle textures on the nose and cheeks. The textures could then be modified with the smooth tool or the amplify tool, depending on how pronounced the details should look. |
 |
| Next, the tutorial showed the stencils. Stencils create a sort of overlay that the sculpt brush follows. Here it is used to create a skin texture. |
 |
| Using a slightly different stencil, more wrinkles have been added around the eyes. |
 |
| And the last part of this chapter goes back to the helmet. Here's the one I beat up in chapter 5. |
 |
| And here's the same helmet textured using an imported wood stencil. |
Chapter 7
This chapter covers retopology. Still not entirely sure what it is, but I'm certain it's something to do with the mesh display.
 |
| Starting with the horns in the project master file. |
 |
| Here's the example of the model being auto retopologized by Mudbox. |
 |
| Here's one of the horns with curves round it to guide how it should be retopologized. |
 |
| Here's the same thing, but with the menu (which I forgot to screenshot sooner) and certain lines highlighted to function has hard constraints, which create sharper edges. Unfortunately I don't know exactly how the process would work completely as whenever I pressed the 'Retopologize' button, Mudbox would crash. |
 |
| Luckily, the exercise files comes with ever bit already done, so here's what it should have come out as. Truth be told, I'm unsure as to what was accomplished here as the mesh looks very jagged. |
Chapter 8
For the first part of chapter 8, the tutorial shows you how to create a displacement map; specifically showing you how to do it with the helmet.
Next, we are shown how to create normal maps using the gremlin's head.
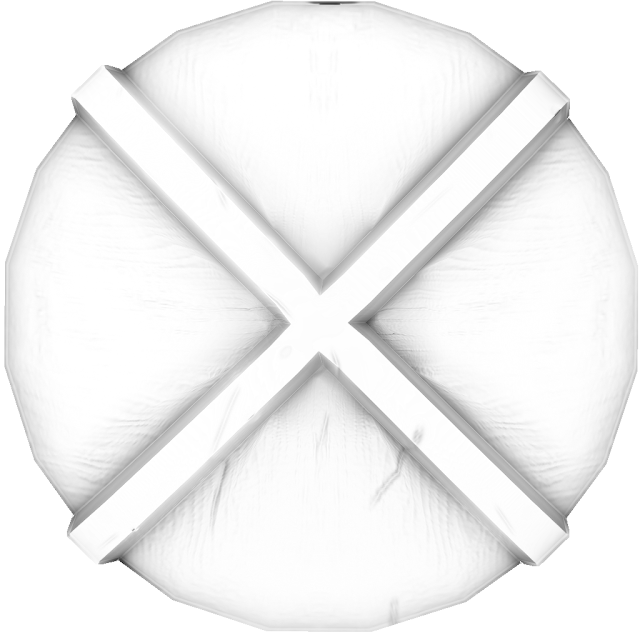
And lastly the tutorial went over ambient occlusion and cavity maps. The cavity is actually just a more detailed version of the ambient occlusion map. It is much clearer and more detailed, it also took about 5ish more minutes to extract out.


No comments:
Post a Comment