
Chapter 9 - Texture Painting
Part 1 - Paint Tools
In this part the tutorial walks through the various paint tools at ones disposal in Mudbox.

Part 2 - UV Painting in Mudbox
This part explains how you can paint straight onto a UV map rather than the 3D model if you want to.
 |
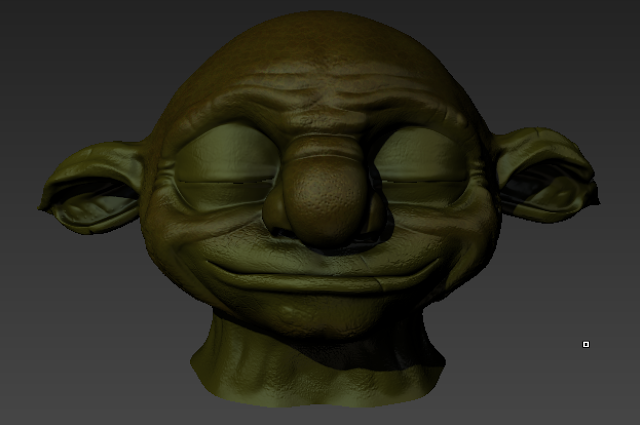
| Starting with the Goblin head model. |
 |
| Using [opt. T] (Yes, I'm on a Mac) Mudbox opens up the UV map. To better view of it, switch the perspective view to the front orthographic view. |
 |
| Here's the UV map with a cavity map overlayed. |
 |
| Using a stencil and the projection brush, you can paint a texture straight onto the UV. |
 |
| Here's the skin painted on the UV. |
 |
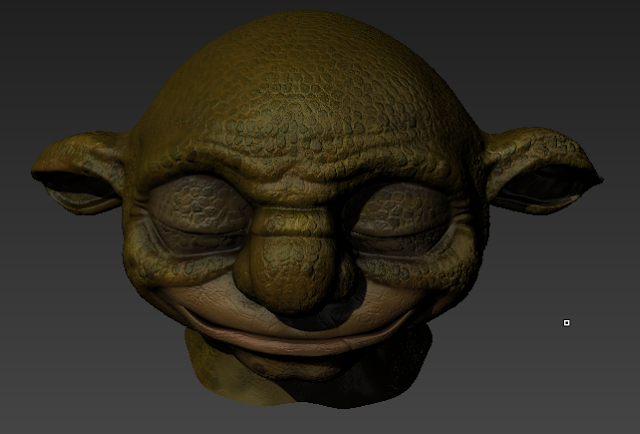
| And here's what that looks like on the Goblin's 3D model. |
Part 3 - Ptex Painting
Ptex is an alternate texture method to UV. Unlike UVs it works solely in 3D, but can be much quicker to set up.
 |
| Stating, once again, with the base Goblin Head. The model must be its lowest subdivision level before being able to apply Ptex. |
 |
| Here's the Ptex layout in the UV view. As you can see it doesn't make very much sense, which is why you shouldn’t use it for painting in photoshop. |
 |
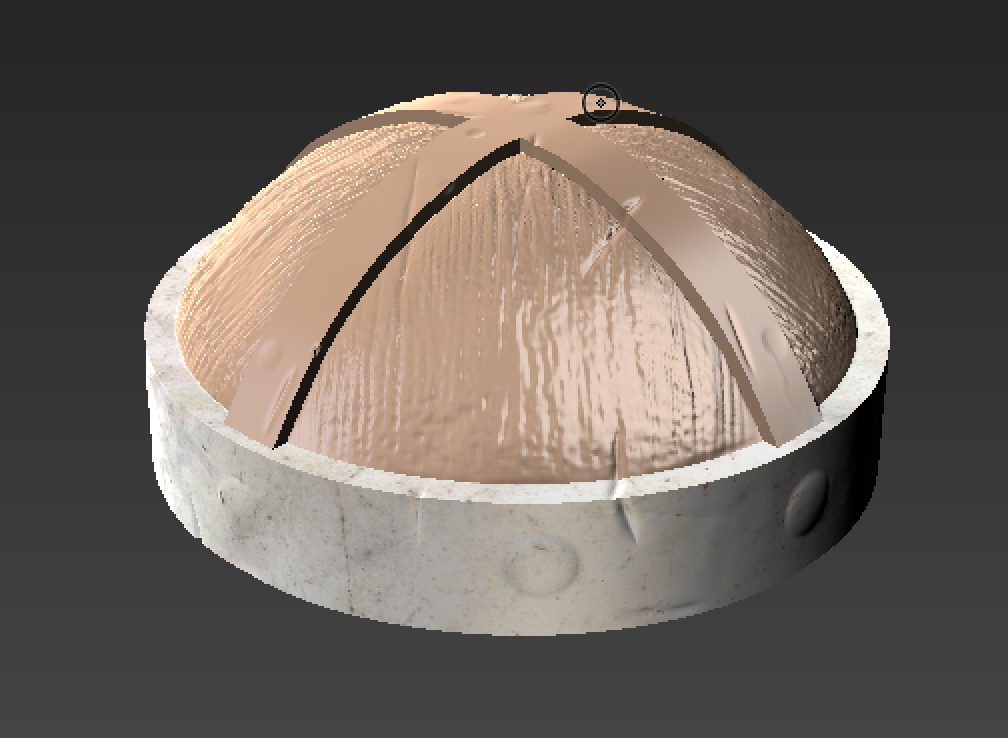
| Once you apply Ptex settings to a model, the model appears like this. Here you can customise the resolution. |
 |
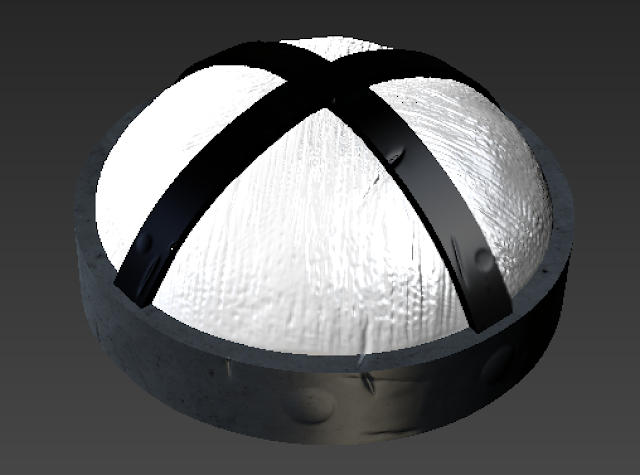
| Once a resolution has been set, the diamond pattern disappears. Clicking on the model will prompt the creation of a Ptex paint layer. Once a layer has been created you can begin painting. I added a stone stencil over this just to test. |
Part 4 - Transfering Paint Layers
This part then covers how to transfer paint layers from one model to another, using the example of transferring the paint layers on the helmet horns to a retopologized version.
 |
| The original horns model. |
 |
| The retopologized horns model. |
 |
| Paint transfer menu. |
 |
| The retopologized model with the original’s textures. |
Chapter 10 - Painting Workflow
Part 1 - Base Painting
 |
| Starting with the Goblin's head at the highest subdivision level. |
 |
| Using the paintbrush tool, you can flood the entire model with one colour. |
 |
| Here's that but with flat lighting, which currently lacks any detail. |
 |
| Which is where cavity maps come in. Here's the settings for the cavity map used here. |
 |
| And here's the cavity map applied. |
 |
| To create light contrast, paint around the mouth and eyes with a lighter shade on a seperate paint layer. This can be tweaked with the strengh slider if the effect is too strong. |
 |
| Then, to create temperature, apply a warm colour to the eyelid, cheeks and mouth. It currently looks like some very vibrant make-up. |
 |
| But to make it look more natural, use the strength slider to adjust. |
 |
| Then add blue to around the eyes, behind the cheeks and the chin to create a cool temperature. |
 |
| And here's all the paint layers visible with proper lighting. |
Part 2 - Projection Painting
 |
| Starting with just the base colour and the cavity map on flat lighting. |
 |
| Using a custom stencil and the projection brush, skin has been added to the model. (Will be colour corrected later) |
 |
| And now how to use projection brush with a UV map, starting with the helmet. |
 |
| Here's the helmet UV. |
 |
| And here's the helmet with a stone texture projected onto the steel part of the helmet. |
 |
| The helmet back in 3D. |
Part 3 - Colour Correction
 |
| Starting with the head painted in the last chapter. |
 |
| Here the skin layer has been switched from 'normal' to 'overlay'. |
 |
| Now it has been colour adjusted to appear more red. |
 |
| Lowered the layer strength to get it to blend better with the base colour. |
 |
| The helmet painted in the last chapter. |
 |
| Colour corrected to appear more blue. |
 |
| Went mad with burn, dodge, contrast and sponge tools. |
Part 4 - Using Layers
 |
| Starting with the Goblin Helmet. As you can see some of the steel colour has gone onto the wood. |
 |
| Too address this, the tutorial has you create a mask, using a cross image that can be imported as a mask layer. |
 |
| From there, the mask needs to be inverted in order to cover over the steel. |
 |
| Once the mask has been created, it can then be placed over the steel layer to mask it out from the wood. |
 |
| Next the tutorial shows how to create a bump map. |
 |
| The skin spots texture is duplicated and put solo, so that it is easier to edit. In colour adjust, make the layer black & white. |
 |
| Once every other layer is visible agian, the skin spots appear to be much darker. |
 |
| From there, move the duplicated skin spots from the diffuse tab to the bump map file. |
 |
| Then invert the bump map. |
Part 5 - Painting Details
 |
| This part goes over how you can add even more details with the paint tools, looking at the horns. |
 |
| Using a crack stamp, cracks can quickly be added to the horns. |
 |
| The crack layer is then switched from 'normal' to 'overlay'. |
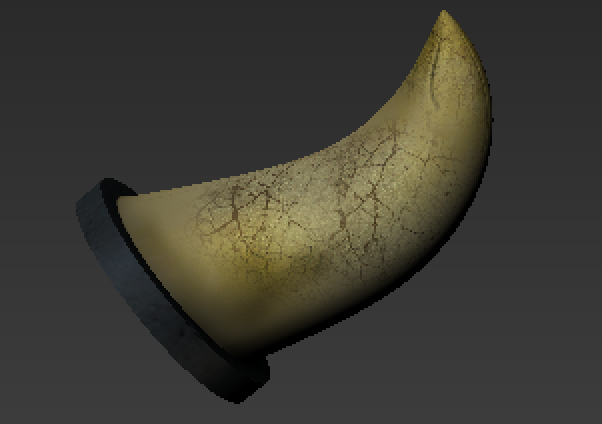 |
| Then go over the cracks with the contrast brush. |
 |
| Moving onto some finer detail with the helmet. |
 |
| Signs of the helmet being worn down was added to the edges of the steel with the dry brush. |
Part 6 - Mudbox and Photoshop Live Bridge
 |
| It is possible to create a live bridge between Mudbox and Photoshop. By right clicking any layer in the diffuse tab, you can select 'Export Channel to PSD', it will then prompt you to save a PSD file. |
 |
| It will then automatically open up in Photoshop. From here you can do anything you want with the UV map, as usual. |
 |
| On Mudbox, this box pops up waiting for you to port changes back over to Mudbox, which is updates accordingly. However I was unable to do this as Photoshop crashed, annoying me to no end. |


No comments:
Post a Comment